CrushFTP Install With NLB In AWS
CrushFTP is an online file transfer and storage solution that provides secure file transfer and storage capabilities for both individuals and businesses. With CrushFTP, users can easily store, access, and share files securely.
It offers a range of features and tools to help users manage their files, such as support for multiple users and security protocols. CrushFTP also provides an easy-to-use web interface, allowing users to transfer files from any web browser. With its advanced features and tools, CrushFTP is a great choice for businesses and individuals looking for a secure and reliable way to store and share their files
Installation is pretty straight forward only added complexity is I added a NLB in front of it.
So first I built out the EC2 using Amazon Linux 2 and created an NLB. Nothing fancy, security group on EC2 allowed ports 8080 (crush web GUI) from internal network and port 2222 to a prefix list of allowed IP addresses.
NLB listener is forwarding to port 2222.
Next on to the software, I downloaded the installer from Crushftp’s website and I choose to use the one without java bundled ( wasn’t sure how much of a pain it would be to update java when the time comes).
And then grabbed openjdk-18.0.2
I wrote the script below to perform the Crush install.
#!/bin/bash

#unzip crush

sudo unzip /var/opt/CrushFTP9.zip -d /var/opt

#unzip java

sudo tar -xvf /var/opt/openjdk-18.0.2_linux-x64_bin.tar.gz -C /var/opt

#crush set java path

sudo sed -i 's/JAVA="java"/JAVA="\/var\/opt\/jdk-18.0.2\/bin\/java"/' /var/opt/CrushFTP9/crushftp_init.sh


#crush install

sudo chmod +x /var/opt/CrushFTP9/crushftp_init.sh

cd /var/opt/CrushFTP9

sudo ./crushftp_init.sh install


#set crushadmin password

sudo /var/opt/jdk-18.0.2/bin/java -jar CrushFTP.jar -a "crushadmin" "password"
Once the instance has initialized you should be able to log into crush from http://
And login as crushadmin using the password you used in the user data portion.
We need to change the listening IP on SFTP to 0.0.0.0 as the NLB will handle connections and will be passing them.
Go to admin > preferences and change SFTP://lookup:2222 to listen on IP 0.0.0.0
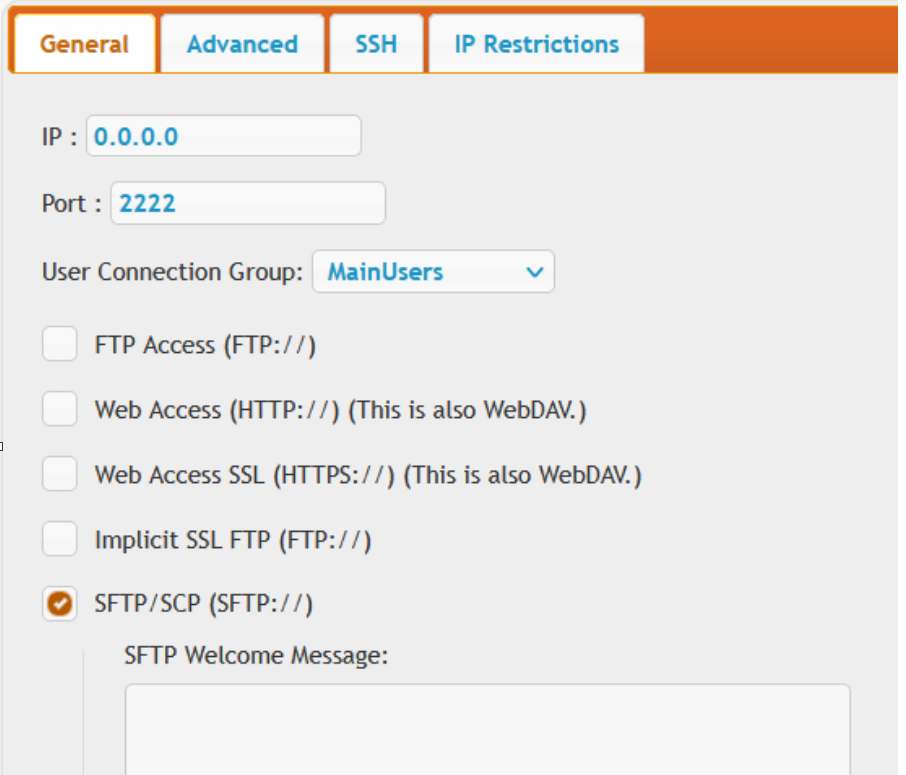
Make sure to hit the save button in the lower right hand corner.
Thats really all for the main setup, I created a few test accounts and everything worked as expected.
Thanks for reading!